Home Teeth Whitening with Smile Brilliant
BEFORE:
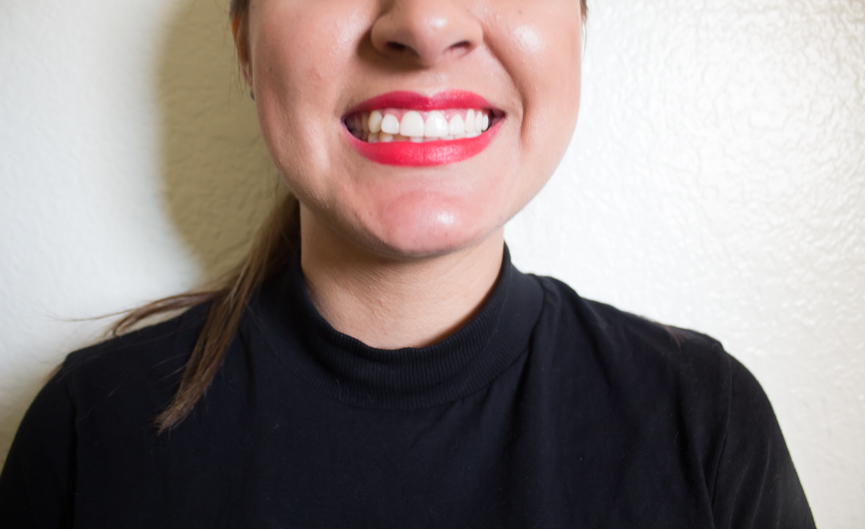
AFTER:

(sorry about this horribles pictures! I know it’s not a cute angle! )
Hello everyone! If you know me, you know I’ve never been a big fan of my smile. When I was in my teens, I had braces, and now, I drink so much coffee that my teeth are yellow, especially one on my right side. Because of this, I’ve always looked for a solution. So, I was very excited to try out this at-home teeth whitening service from Smile Brilliant.
I first head about Smile Brilliant through Youtube videos and testimonials I saw about the company. With their unique system, you can make your own custom-fitted whitening trays, literally from the comfort of your own home!
Whitening your teeth can be very expensive, and it’s also always scary to go your dentist. Maybe it’s just me, but I know a lot of people get nervous about going! Smile Brilliant makes everything so easy, here’s how it works:
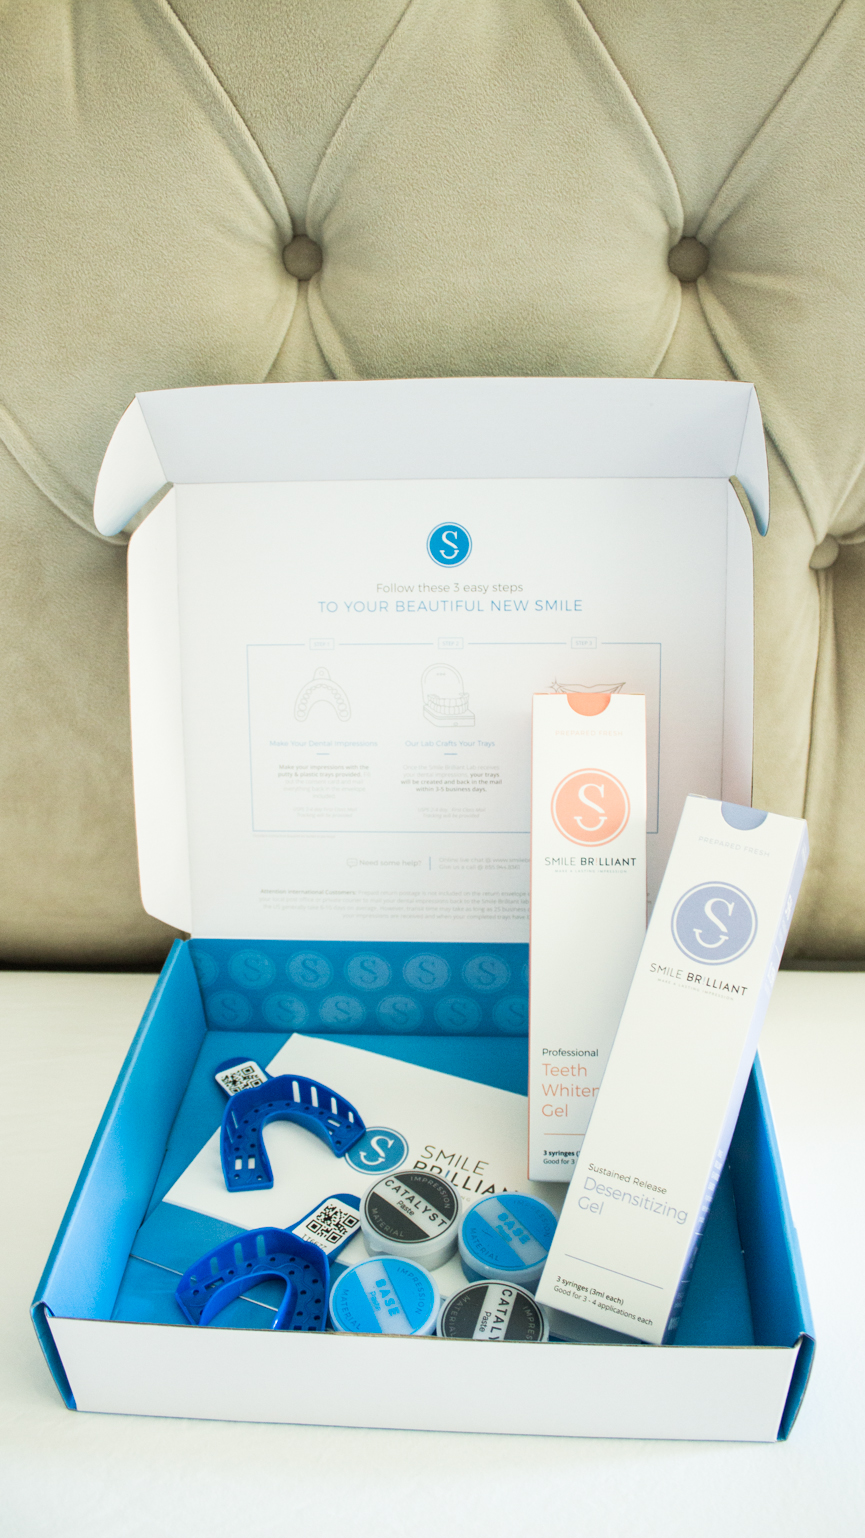
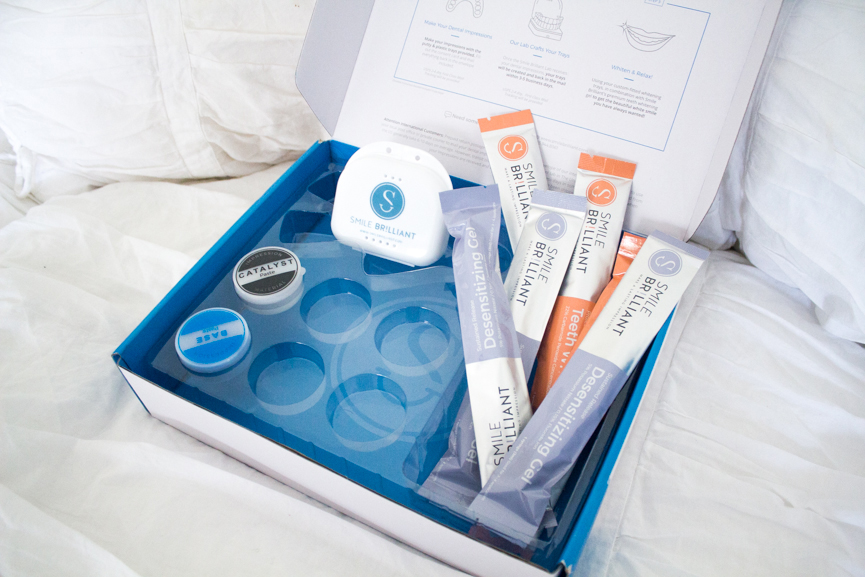
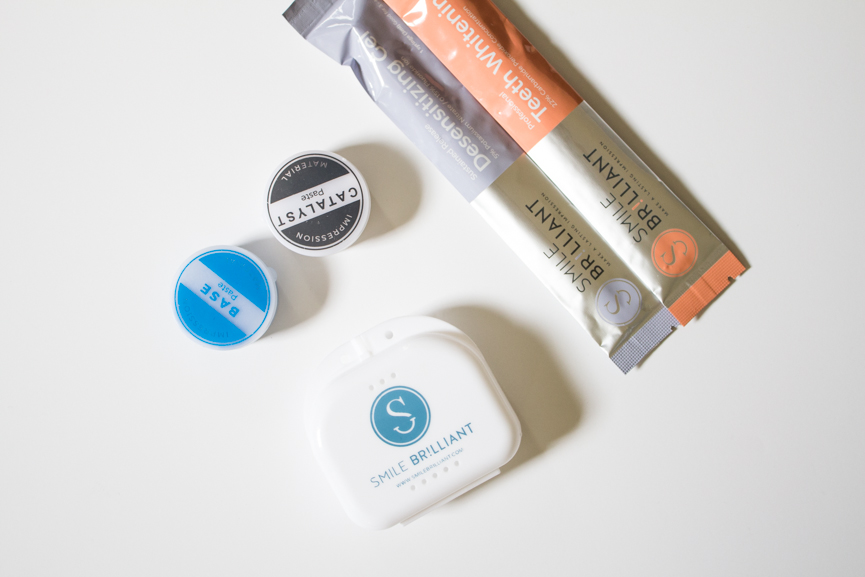
Smile Brilliant will send you a kit with what you need to mix up the putty for your molding trays, including Smile Brilliant’s vegan and cruelty-free gel ingredients. Also included is a paid envelope to send your finished trays back for processing. First, you mix the “white putty” and the “blue putty” together (base & catalyst). It’s important to mix these two together really well until you don’t see any white. Also, mix quickly so it doesn’t harden before its ready to be placed into your custom-fitted teeth whitening trays.
The molds are very easy to make–simply follow the instructions on the box. Also, Smile Brilliant has videos that you can watch to see how to prepare your mold trays. You’re welcome. Next, send back your mold trays with the paid envelope, and wait for your molds.
After Smile Brilliant sends your new teeth molds in a white box (as pictured), it’s time to apply the whitening gel. Apply a good amount, put them in your mouth, and wait around 40 minutes. Everything is easy to use, and the pictures included in the instructions are very helpful. After the 40 minutes, apply the desensitizing gel after using your whitening gel. Leave this on for around 15 minutes, and you’re good to go. To be honest, I didn’t experience any problems and am satisfied with my results!
Last but not least, there are a few things to know before buying. For example, it’s very important to note that every person is different. In order to see a difference, it all depends on the state of your teeth before. For me, it took a couple of weeks and I didn’t do it every day, but more like 3 times the week.
Super easy and simple, right?! This method is so much less expensive and time consuming than going to the dentist to get your teeth whitened. If you want to get your own kit, you can get a 10% off with this coupon: alwaysavi
Want to receive your own Smile Brilliant products? Well, this is your lucky day! All you need to do is enter my giveaway!
Hola a todos! No soy fan la verdad de mi sonrisa. Cuando estaba en la preparatoria, tuve frenos. También tomo demasiado café que ha hecho que tenga mis dientes amarillos, especialmente uno de mi lado derecho. Así que estaba súper feliz cuando Smile Brilliant me envío una muestra de su servicio de blanqueamiento en casa.
He visto muchos videos en Youtube sobre Smile Brilliant, es un kit de blanqueamiento en casa. En la caja contiene para crear tu molde, que tienes que regresar en su sobre y el producto para aclarar. Blanquear tus dientes puede ser muy caro, y siempre da miedo ir al dentista la verdad, o a lo mejor soy yo. Por eso soy muy feliz que Smile Brilliant lo puedes hacer en tu casa y no es para nada caro. Es de un precio razonable! Así funciona.
Smile Brilliant te envía su kit. Primero vas a mezclar los moldes azul y blanco juntos, que son la base. Mezclamos hasta que no veas nada blanco. Hazlo rápido porque si no la mezcla se hará dura. Ponlo en los moldes azul, quédate con ellos por unos 20 minutos. Después envías tus muestras a Smile Brilliant en el sobre que ya esta pagado por ellos. Haz un video también de como hacerlo en inglés. Aquí esta el link del video: HERE!
Después Smile Brilliant te envía tus nuevos moldes en una caja blanca. Te recomiendo hacer el proceso de blanqueamiento en las noches antes de dormir, porque esto funciona mejor cuando no comes ni tomas. Pon el gel del blanqueamiento en tus nuevos moldes, pon los en tus dientes y déjalo por 40 minutos a una hora. Después usa el gel de sensibilidad en tus mismos moldes por unos 15 minutos. Hay gente muy sensible y esto es bueno para ellos. A mi no me dolió para nada el blanqueamiento pero aún así lo use por si las moscas.
Cada persona es diferente. Depende mucho el color original de tus dientes y que tan amarillos estén tus dientes que verás una diferencia. Para mí, me tomo un par de semanas y no lo use diario. Solamente 3 veces por semana. Es muy sencillo todo esto y sale más barato que ir al dentista. Espero les guste y si tienen más dudas sobre Smile Brilliant, me pueden preguntar.